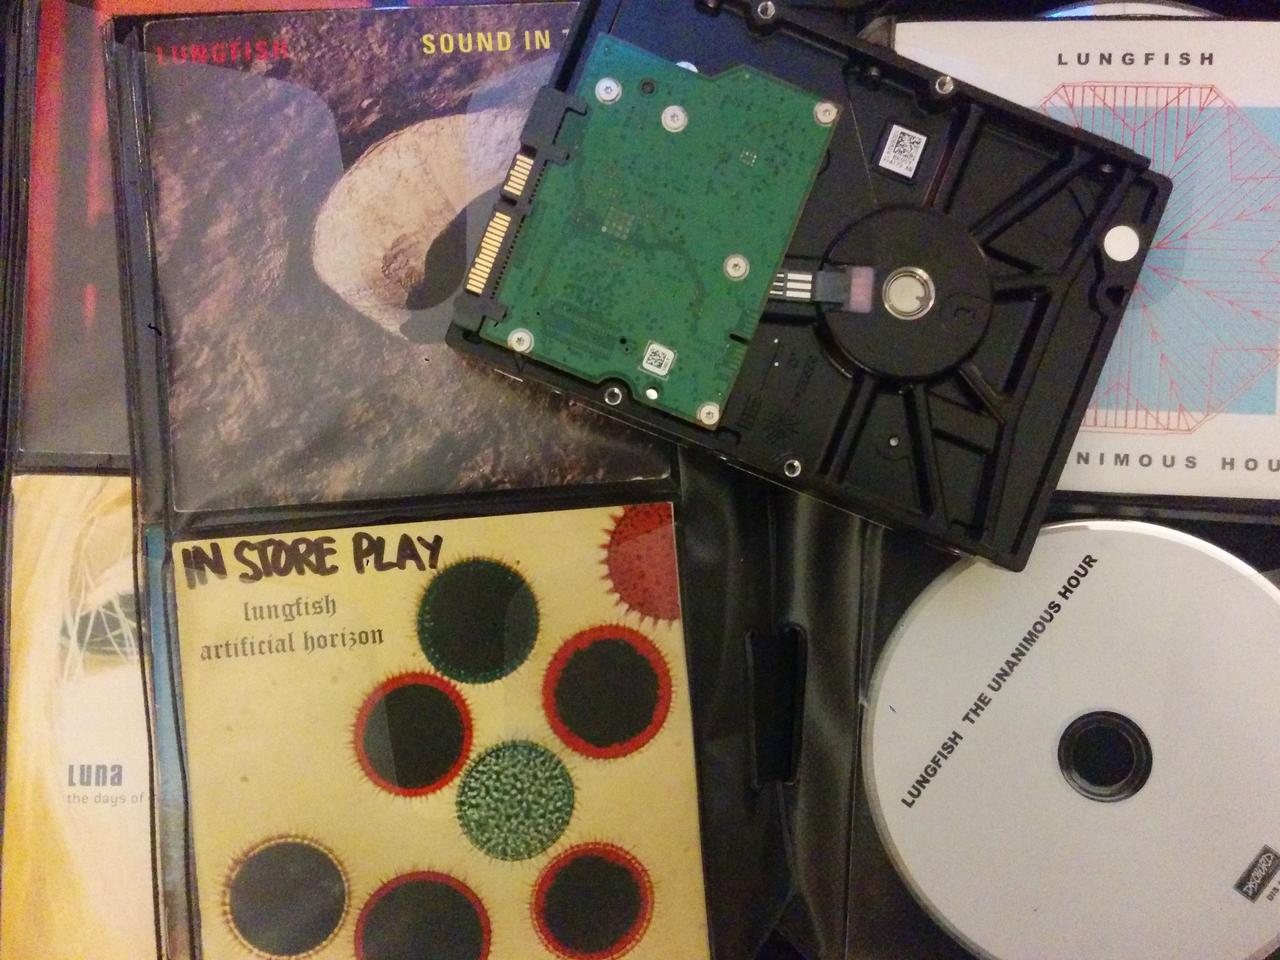
HDD = hard drive doomed
A few months ago, in the midst of a midsemester crunch, I had to replace a failing hard drive on the old Dell desktop that I use as sort of my “master” computer. I do some cloud backups, but a lot of stuff like thousands of FLAC files ripped from a thousand old CDs doesn’t need to really need to sit on a remote server.

This hard drive replacement was urgent because I was doing a social network analysis project relying on Gephi, and I had trouble running Gephi on a laptop without a real mouse. I suppose I could have used my desktop mouse with my laptop, but I had things all set up for this project on the desktop PC so I just wanted to get this drive swap over with. The desktop is old and I have replaced the hard drive(s) and some of the other components before. The operating system is on a small solid-state drive, and unaffected. So I really just wanted to clone the old data drive in toto and then get back to work.
This was more of a pain than I expected. When I copied everything over, I found that a small, unpredictable percentage of my old files were corrupt. It appeared that these were files that had been written in recent months, but it was almost impossible to tell in advance which ones were damaged. I had recent backups of the whole drive, but I didn’t really want to spend the time to copy the backups over onto the new disk. We are talking about very large disks here, and restoring all the files from backup was going to take forever. I had a project to get back to.
What I needed was a way to identify which files were corrupt, and only replace the busted files from the backup. I could compare them, file by file, to the backup, but the only utilities I could find — like Windows’s awesome robocopy — relied on file attributes like modification date.
Digital preservation to the rescue
Helpfully, I had just spend a year learning a lot about digital preservation both in a theoretical way, via a useful course, and in a hands-on way at my job. I was familiar with that magical thing called a checksum, and even knew how to generate checksums for single files in Python. I was using this function to compare local downloads from the Internet Archive to known checksums.
I realized I could work through my dubious files, directory by directory, and then compare the files’ checksums to those in the backup. Then I could make the fairly safe assumption that any discrepancies pointed to a corrupt file, and overwrite from the backup.
Here is a gist to accomplish just that, in Python 3, including some options to just return lists of missing and corrupt files rather than replace them. It worked so well that I kind of want to experience the same problem again.